

1
Brand it
- Settings > Branding holds the look: logo, colors, and theme for the customer account area, with Customer portal features lower on the page (What subscribers can do for themselves).
- The live preview shows changes as you make them, desktop and mobile.
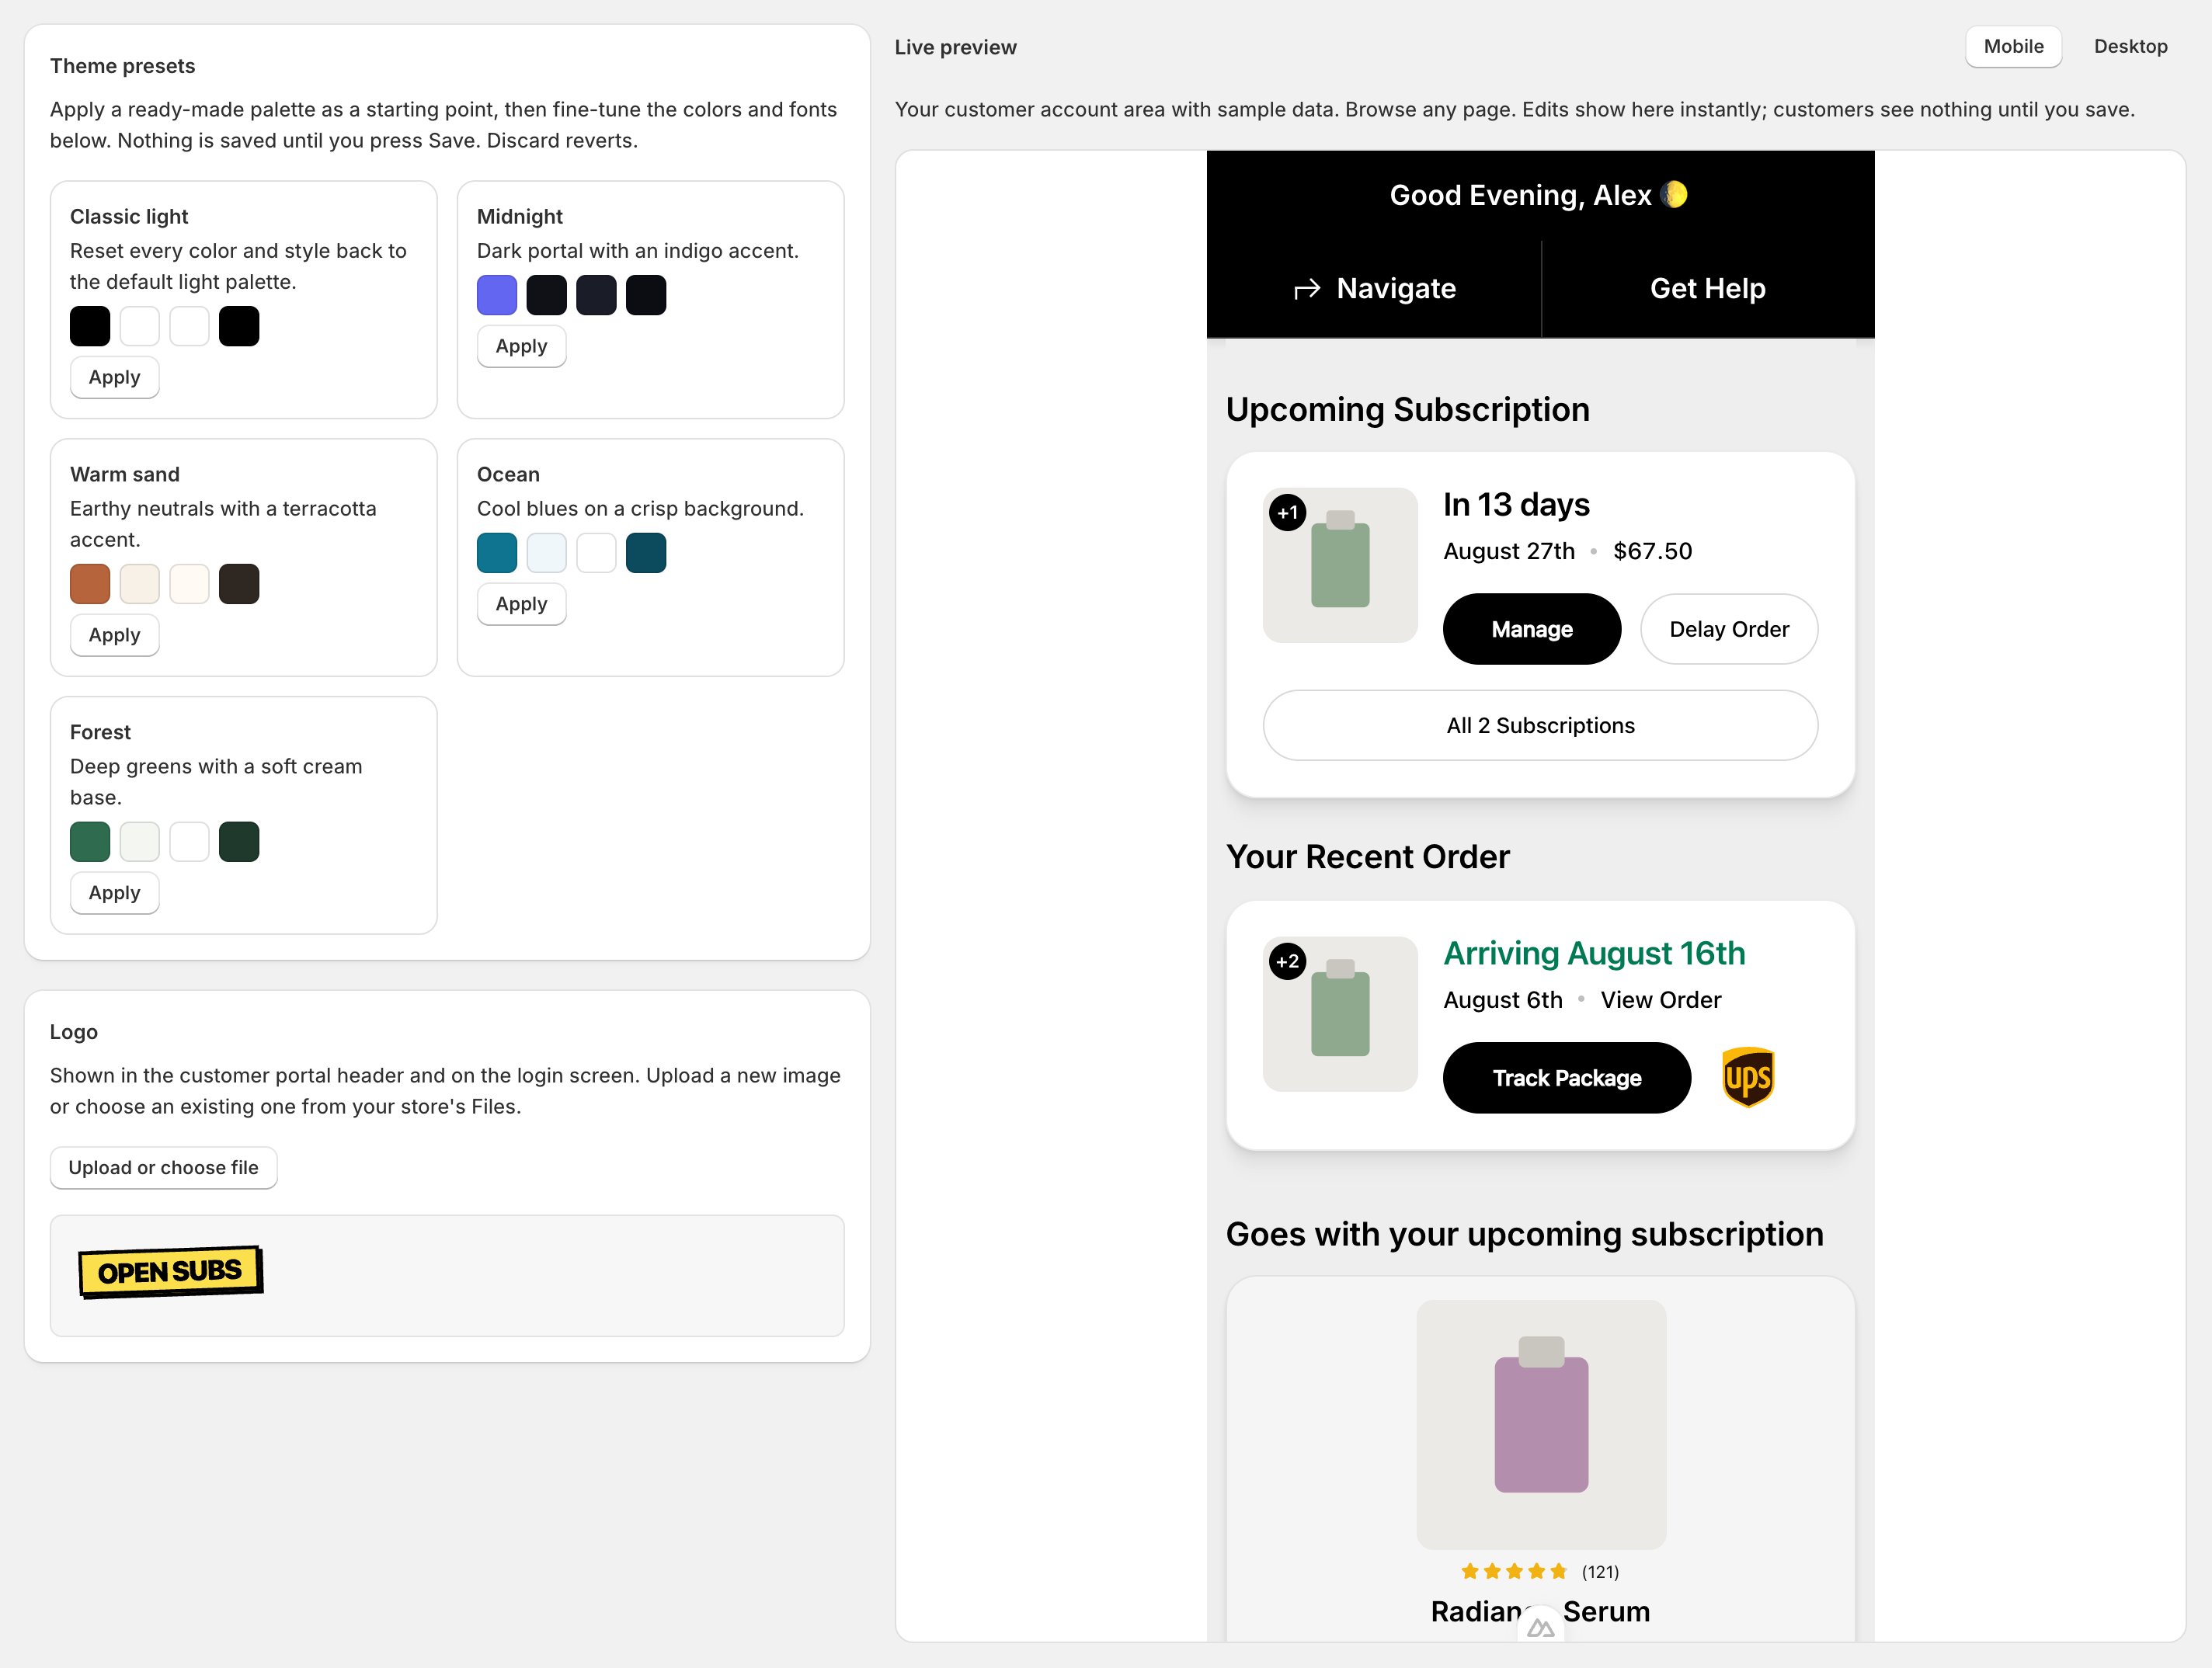
Checkpoint: the preview looks like your store, both sizes.
2
Reword it, in any language
- Settings > Translations lists every phrase the portal can say, editable per language and searchable.
- Edit the English row to reword the portal store-wide; every other language layers on top.
- A blank field falls back to the default wording; each language saves as a whole.
- A draft language never serves to subscribers; its Preview link is the only place it renders until you set it live.
Checkpoint: the phrases subscribers see most read like you.
3
Add the FAQ
- Settings > FAQ holds the portal’s help content in sections of questions and answers; the portal shows no FAQ item until you add rows.
- The Dashboard FAQ block switch (off by default, on the Branding page) puts the FAQ on the portal dashboard.
- A section named Featured (any capitalization) feeds the portal’s featured help block. Renamed, the dashboard’s FAQ block falls back to your first section and only the FAQ page’s featured preview drops.
- Saving replaces the whole FAQ; removed rows don’t survive anywhere.
Checkpoint: the questions your inbox answers weekly are in the FAQ.