1
Copy the install link
- In the Dev Dashboard, open the app’s Distribution page and copy the install link. Never generated one? Enter the live store’s
.myshopify.comdomain and click Generate link. - You’ll see an install link scoped to your app; this link is how a custom app reaches a real store.
Checkpoint: install link copied.
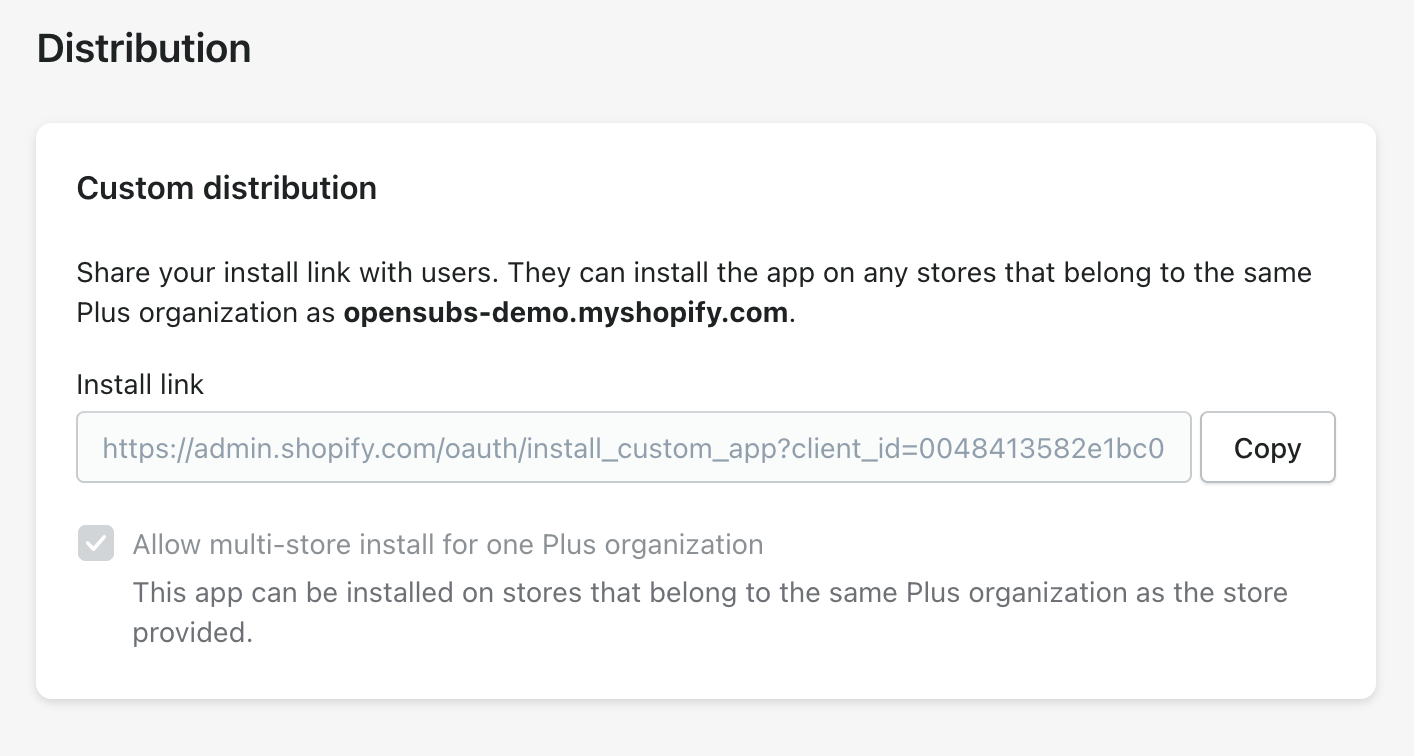
On Shopify Plus? The same screen offers “Allow multi-store installs for one Plus organization.” Leave it unchecked for one production store; check it if sister stores in your organization will run OpenSubs too. Either way, dev stores stay fair game; the app’s access carries wherever it installs.
2
Install on your live store
- Open the link, confirm your live store, and approve the access screen (the same grants you approved when you created the app).
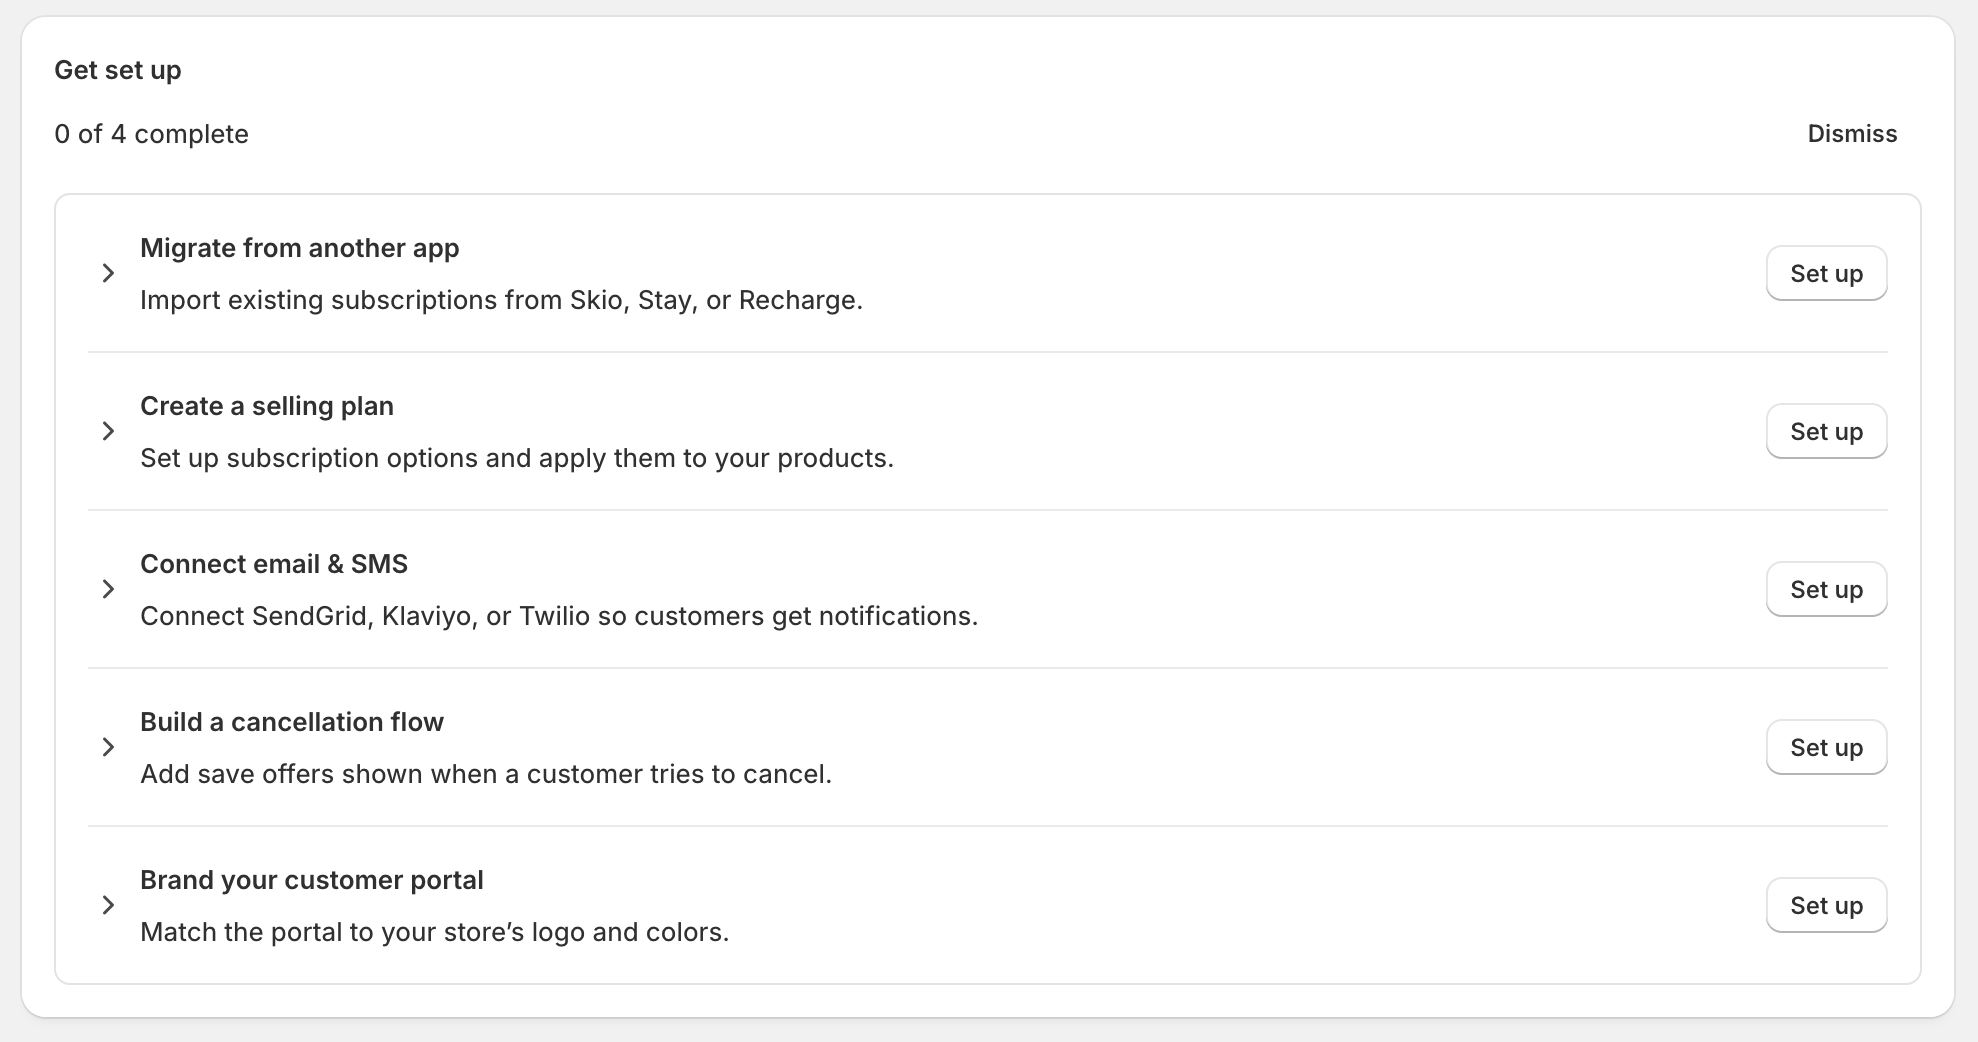
- You’ll see the OpenSubs admin open inside your real store’s admin. Home greets you with a short checklist: Migrate from another app (optional) · Create a selling plan · Connect email and SMS · Build a cancellation flow · Brand your customer portal. That checklist is the next page, Configure your store; the optional Migrate item has its own pages, for when you’re ready.
- Meanwhile the app builds its mirror of your store: your real products, customers, and orders appear on their own. The sync plumbing set itself up at install; there is nothing for you to configure.
Checkpoint: OpenSubs admin open on the live store; Home checklist showing; catalog filling in.